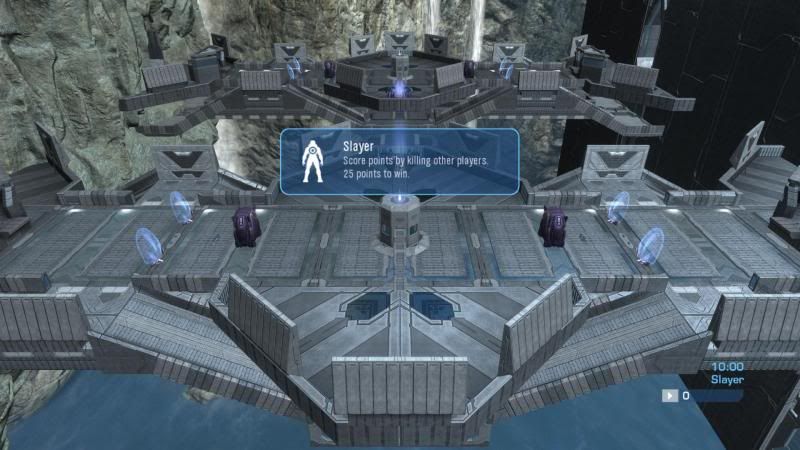
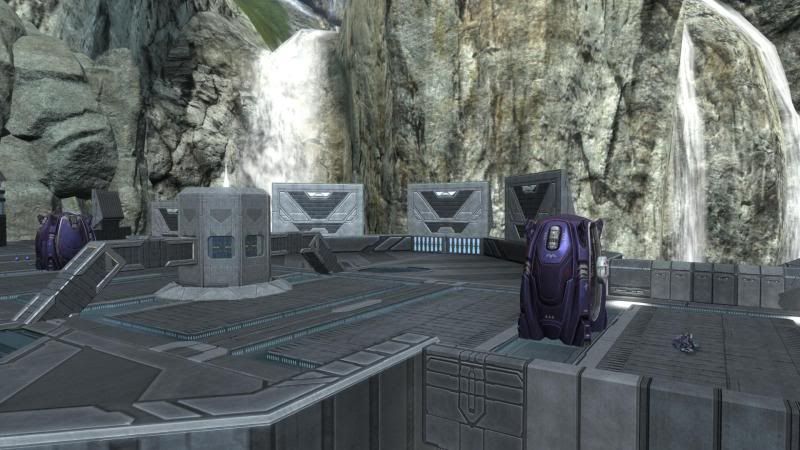
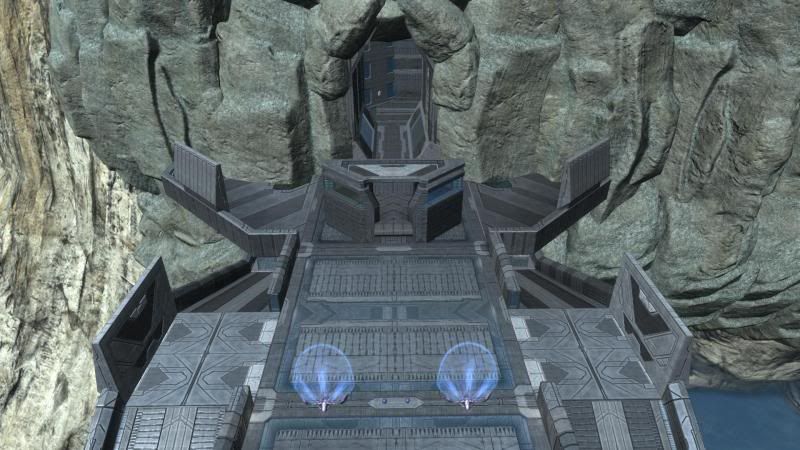
As this is the first post in the thread, I figured I'd re-post Bungie's Invasion guide as that tends to be the hardest thing to forge correctly.
Hidden/Spoiler:
Q. Can I use Forge to build my own custom Invasion experience?
A. Yes!
But, of course, the real answer is a touch more nuanced than that. Like all things Forge related, the first step – placing objects and laying out weapons – is the easy part of the equation. Creating a fun Invasion Map Variant with the Forge also demands that you lovingly place spawns, carefully layout safe zones, and correctly fashion several objective phases. Ultimately, a proper Invasion layout requires no small amount of forethought, planning, and implementation.
But don’t freak out. To help you navigate the rocky terrain, our very own Forge expert, Joseph Ainsworth, cooked up a comprehensive guide covering everything you need to know about wielding the Forge anvil to mete out some sweet Invasion justice.
Let’s get down to business.
The Rules of Invasion
Invasion is a three phased objective game type with two teams, Spartans and Elites. A phase ends when the objective is complete or when the phase timer runs out. The attacking team wins once they successfully complete all three objectives. The defenders win if they can run the phase timer out on any phase.
Important Info
First things first! There are a multitude of things that you need to know about how the internal structure of an Invasion gametype.
* There are 3 different objective types available for each phase (27 different permutations)
* Each objective type has different requirements that the forged map must support.
* Invasion supports fire team player spawning and spawn locations.
* Forge objects can be setup to appear or disappear in a specified phase.
Invasion Game Variant Setup
Custom games should only use the "Invasion" variant and never “Invasion: Boneyard” or “Invasion: Spire.” The invasion options can be configured to change who is attacking, Spartans or Elites, and what the objective is for each phase.
Invasion Checklist
This is a list of everything your Invasion map should have:
1. 3 total objectives, 1 for each phase
2. Initial, phased and backfield spawn locations
3. A Safe Zone to define the boundaries of the map
Important Forge Object Properties for Invasion
Game Type Specific:
An object set as game type specific will only show up in game types that include the Forge object label in its list of predefined labels. Any invasion specific objects that do not already have an invasion specific label should be labeled "Invasion.”
Labels:
Labels are a name that can be given to any object and can define game behavior. Each object can have a single label selected from a list of labels supported by the game type being Forged. Note: You must be Forging in Invasion to see the Invasion labels.
Boundary Volumes:
Boundary volumes must be given to all hill locations and flag capture locations, otherwise it will never detect a collision, and the objective will not function.
Teams:
The two team colors in invasion are assigned to the species as opposed to attackers and defenders. Spartans are assigned to red and Elites are assigned to Blue. This makes it important to correctly set the game option, “Invasion Options – Attacking Team,” to the correct race before starting a game of forged invasion.
Getting Started
To begin creating an invasion map, select the Forge lobby.
1. Select Invasion from the Game Type field
2. Select the Map you wish to modify
3. Start the Game
Once you are in Forge, Enter Edit mode by press up on the D-pad or select it from the Start Menu. For the most reliable results, it is recommended that you delete all objects from the map so you only have objects that you have placed.
Creating Objectives
There are 3 types of invasion objective and they function much like their stand alone equivalent.
* Territories
* Assault
* Capture the Flag (Capture the Core in the case of Invasion)
While an Invasion map only needs to support one objective in each phase, it can be setup to handle all cases. There needs to be at least one objective for each phase to complete a round of invasion.
Setting up a Territories Objective
The Territories objective type requires a single object to function. There can be any number of territories per phase.
To setup a territory we need to place an object on the map and give it the INV_OBJECTIVE Label:
1. Enter the place object menu
2. Select an Object (Objectives\Hill Marker is a good choice)
3. Press X to edit the objects properties
4. Select the Advanced option and the Game Type Label property
5. Change the value to “INV_OBJECTIVE”
Now that you have a territory object, it is time to define the boundary volume:
1. Press X to edit the objects properties
2. Set the shape property to anything but none
3. Increase the size of the width, top, bottom and length to the desired size
Lastly assign a phase for this territory objective to be active.
1. Grab the territory object
2. Enter the Object Options
3. Enter the advanced sub-menu
4. Set the Spawn Sequence field to the phase in which this objective will be used (1,2,3)
Setting up an Assault or CTF Objective
An assault or CTF objective requires taking an object (bomb or core) from one location to one or more destinations. An assault objective requires the carrier to plant the bomb, a countdown within the zone, while a CTF objective only requires the carrier to enter the objective zone.
First off we need to create the location where our Bomb/Core object will be spawned.
1. Enter the Place Object menu
2. Select an object to spawn the Bomb\Core on (Objective\Capture Plate is a good option)
3. Press X to edit the objects properties
4. Select the Advanced option and the Label property
5. Change the value to “INV_OBJ_FLAG”
Next we need to place the object which will be used for the Bomb\Core Destination.
1. Enter the Place Object menu
2. Select an object to spawn the Bomb\Core on (Objective\Capture Plate is a good option)
3. Press X to edit the objects properties
4. Select the Advanced option and the Game Type Label property
5. Change the value to “INV_OBJECTIVE”
The destination location needs a boundary volume.
1. Press X to edit the objects properties
2. Set the shape property to anything but none
3. Increase the size of the width, top, bottom and length to the desired size
Lastly assign a phase to assign a phase number to each location.
1. Grab the territory object
2. Enter the Object Options
3. Enter the advanced sub-menu
4. Set the Spawn Sequence field to the phase in which this objective will be used (1,2,3)
Setting up Multiple Objectives per Phase
There are some considerations when overlapping objectives per phase. Any object labeled as INV_OBJECTIVE will count as an objective. So the objective for Assault Phase will also count as a territory objective which means only one object labeled with INV_OBJECTIVE needs to be present to support all objectives.
Setting up Spawn Locations
There are three types of spawn locations that can be setup for Invasion:
* Initial Spawn - The players will spawn at the start of the game at these locations.
* Backfield Spawn - These spawns can be used during any phase by anyone on the associated team.
* Phase Spawn - These spawns are only active in one phase and are associated to a fire team.
While the attacking team can be changed from the Invasion game options, this will not switch the team positions around. When a player dies they can choose to respawn on a member of their fire team, at a backfield spawn or any phased spawn available to their fire team.
Setting up an Initial Spawn Location
Initial spawn locations need to be set for each player on each team. Initial spawns are not affected by fire team.
1. Enter the place object menu
2. Select a Spawning\Initial Spawn object
3. Press X to edit the objects properties
4. Set the team property to either red or blue
Setting up a Backfield Spawn Location
Backfield spawns are optional, but are a good idea to allow players alternative locations to spawn.
1. Enter the place object menu
2. Select an Objective\Hill Marker object
3. Press X to edit the objects properties
4. Set the Team property to either red or blue
5. Select the Advanced option and the Game Type Label property
6. Change the value to “INV_RES_ZONE”
Setting up a Phased Spawn Location.
1. Enter the place object menu
2. Select an Objective\Hill Marker object
3. Press X to edit the objects properties
4. Set the Team property to either red or blue
5. Select the Advanced option and the Game Type Label property
6. Change the value to either “INV_RES_P1,” “INV_RES_P2” or “INV_RES_P3.”
7. Change the Spawn Sequence property to the fire team value (0, 1, 2, 3+)
The players on each team are separated into three fire teams (0, 1, 2) which can have separate phased spawn locations. Assigning a spawn location with fire team value of 3+ will make that spawn accessible to all players on the team. Each fire team needs a respawn location for each phase.
Safe Zones
The safe zone defines the playable area of your map. Without a safe zone a player can go to any location on the map which is usually undesirable. There are two types of safe zones:
* Hard Safe Zone: When a player leaves the safe zone they are killed.
* Soft Safe Zone: When a player leaves the safe zone they are given 10 seconds to return.
While a combination of the two can be placed, having a hard safe zone on the map will overwrite the soft behavior. Best practice is to include only soft safe zones and use hard kill zones to enforce boundaries.
Phased Object Creation and Deletion
Invasion is a phased game type and has some interesting options for the creating and deleting objects based on the current phase of the round.
Gated Objects (Phased Deletion)
A gated object will be deleted after the specified phase has been completed. Warning: this can have strange behavior on vehicles and weapons.
1. Create or hover over the object you wish to Gate.
2. Press X to edit the objects properties
3. Select the Advanced Option and the Game Type Label property
4. Change the value to INV_GATES
5. Change the Spawn Sequence property to the last phase the object should be active (i.e. if the object should disappear after phase one, set the value to 1
Phased Objects (Phased Creation)
A phased object will be start spawning once the specified phase has started.
1. Create or hover over the object you wish to Gate.
2. Press X to edit the objects properties
3. Select the Advanced Option and the Game Type Label property
4. Change the value to INV_WEAPON or INV_VEHICLE
5. Change the Spawn Sequence property to the first phase the object should be active (i.e. if it should appear at the start of phase two, set the value to 2)
Something to consider with phased objects is spawn time. Phased objects do not immediately appear on a round change, they must spawn in. The shortest spawn time is 1 second; do not use "Never" as they will never appear. For weapons and vehicles this is a problem as a short spawn time will mean that the vehicle or weapon will constantly respawn.
The only difference between INV_WEAPON and INV_VEHICLE is that vehicles are given a way point at the start of the phase.
Warnings!
* Do not setup any objects with the invasion_cinematics label, as all this data will be deleted on custom maps by default
* Do not assig the INV_PLATFORM label to anything as it is specific to the Spire elevator lift that is activated in phase 3 of Invasion: Spire
* When working with phased objects do not set an object spawn time to never and place at start to false. If you ever reload the Forge map the object will be lost.
* The Assault/CTF Invasion phases are incompatible with the game option "Disable Weapon Pickup" as it will also prevent players from picking up the bomb or flag.


